How I Model Minis In Sketchup
How I Model Minis In Sketchup – The Very Basics Principles
Although this will be a relatively simple example intended to explain some basic principles, we will be assuming a basic level of familiarity with Sketchup. Therefore if the program is completely new to you, I’d recommend taking a look over on Youtube for some walkthrough tutorials.
Here’s a great place to start: Getting Started With Sketchup
Before we get into the fun part there are a few things to note as I use Sketchup Pro with several additional ‘plugins’. These plugins aren’t necessary, but they can simplify things, and so save time.
Recommended ‘basic’ plugins:
Fredo6 Round Corner (required ‘Lib Fredo’ to function)
Solid Inspector/Solid Inspector 2
STL Import & Export
These and many other plugins are available within Sketchup from the ‘Extension Warehouse. But I would also recommend heading over to Sketchucation.com and consider installing their Extension Manager.
Now on to the drawing
Open a new drawing file with a mm scale. I use mm as it’s the unit system I’m familiar with and it makes scaling easier. You can check/amend your drawings units under;
Window> Preferences> Template> Architectural Design – Millimetres

For this example we’ll stick to something simple, so well make a ubiquitous barrel. To ensure this barrel matches the scale of our minis we’ll be using an existing barrel to scale from. I’d recommend a picking up a set of calipers if you can, otherwise a ruler will get you close enough.
Now although we have set the units to mm, we’re going to draw scaled up by x1000. E.g. if we want to draw something intended to be 1mm, we’ll drawn it ‘in model’ as 1000mm. We do this for a few reasons, chief among of these is Sketchup’s occasional issues in dealing with lines/faces smaller than 1mm in more complex models. So its good practice to start this way (at least in my experience). We’ll scale down prior to exporting.
First we’ll start with the main cylinder. So we’ll select the circle tool and ensure the circle is divided into an appropriate amount of segments/sides. SU defaults to 24, but we’ll increase this to 100 by simply typing 100 after clicking the circle tool from the tool bar.

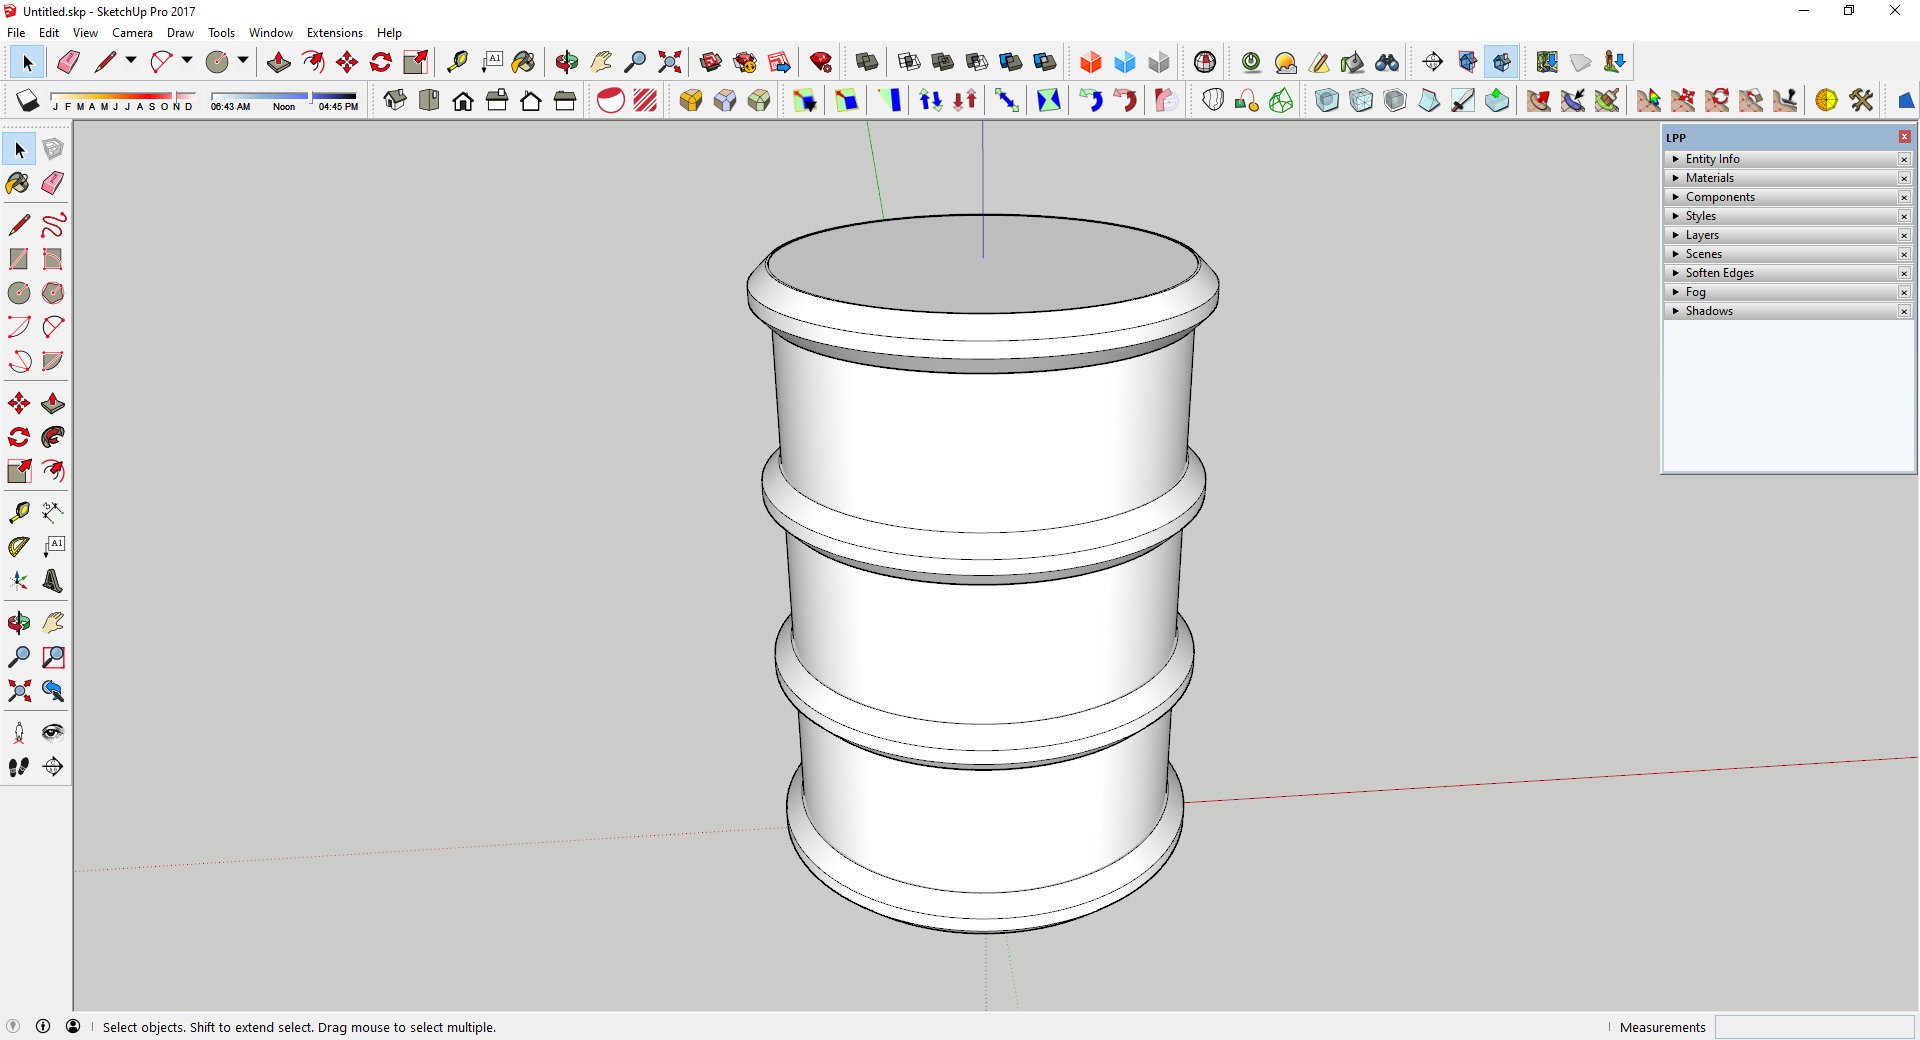
The main cylinder is approximately 16mm in diameter, so we’ll draw a 16000 diameter/8000 radius and extrude this up to a height of 25.2mm (so 25200 in model). We’ll now group this cylinder to stop it interacting with our next steps. This can be done via fast triple clicking the cylinder to select all connected line work/faces, right clicking the cylinder and selecting ‘make group’.

Next we’ll attempt the ribbing. Once again well select the circle tool, but this time we'll draw a 17.2mm (17200) diameter circle on top of and centered to our previous step. We’ll then extrude this down by 2mm (2000). As we’ll be needing multiple ribs for the barrel, we’ll make this ‘Group’ in to a ‘Component’ by right click the rib and selecting make ‘Make Component’.

Now let’s copy this rib and place it. We’ll select the rib with a left click, select the move tool from the tool bar and tap the up arrow key to lock the movement to the vertical axis. Now with the move tool selected well click the bottom lip of the rib and move it to the bottom of the main cylinder.


But before we left click to place the bottom rib, we’ll tap CTRL. This copies the component leaving the original in place.
We can now divide this movement to automatically place the two centre ribs by typing /3.

Double click one of the rib components to open it and select the two edges. Here we’ll use one of the recommended plugins (Round Corner), but the same could be achieved with the ‘Follow Me’ tool built into Sketchup. Select the ‘Bevel’ tool from the Fedo6 Round Corner tool bar and set the bevel to 0.7mm (700) by typing 700 and hitting return.

You’ll see that as we made each rib a component, all the placed ribs now have the bevel applied.
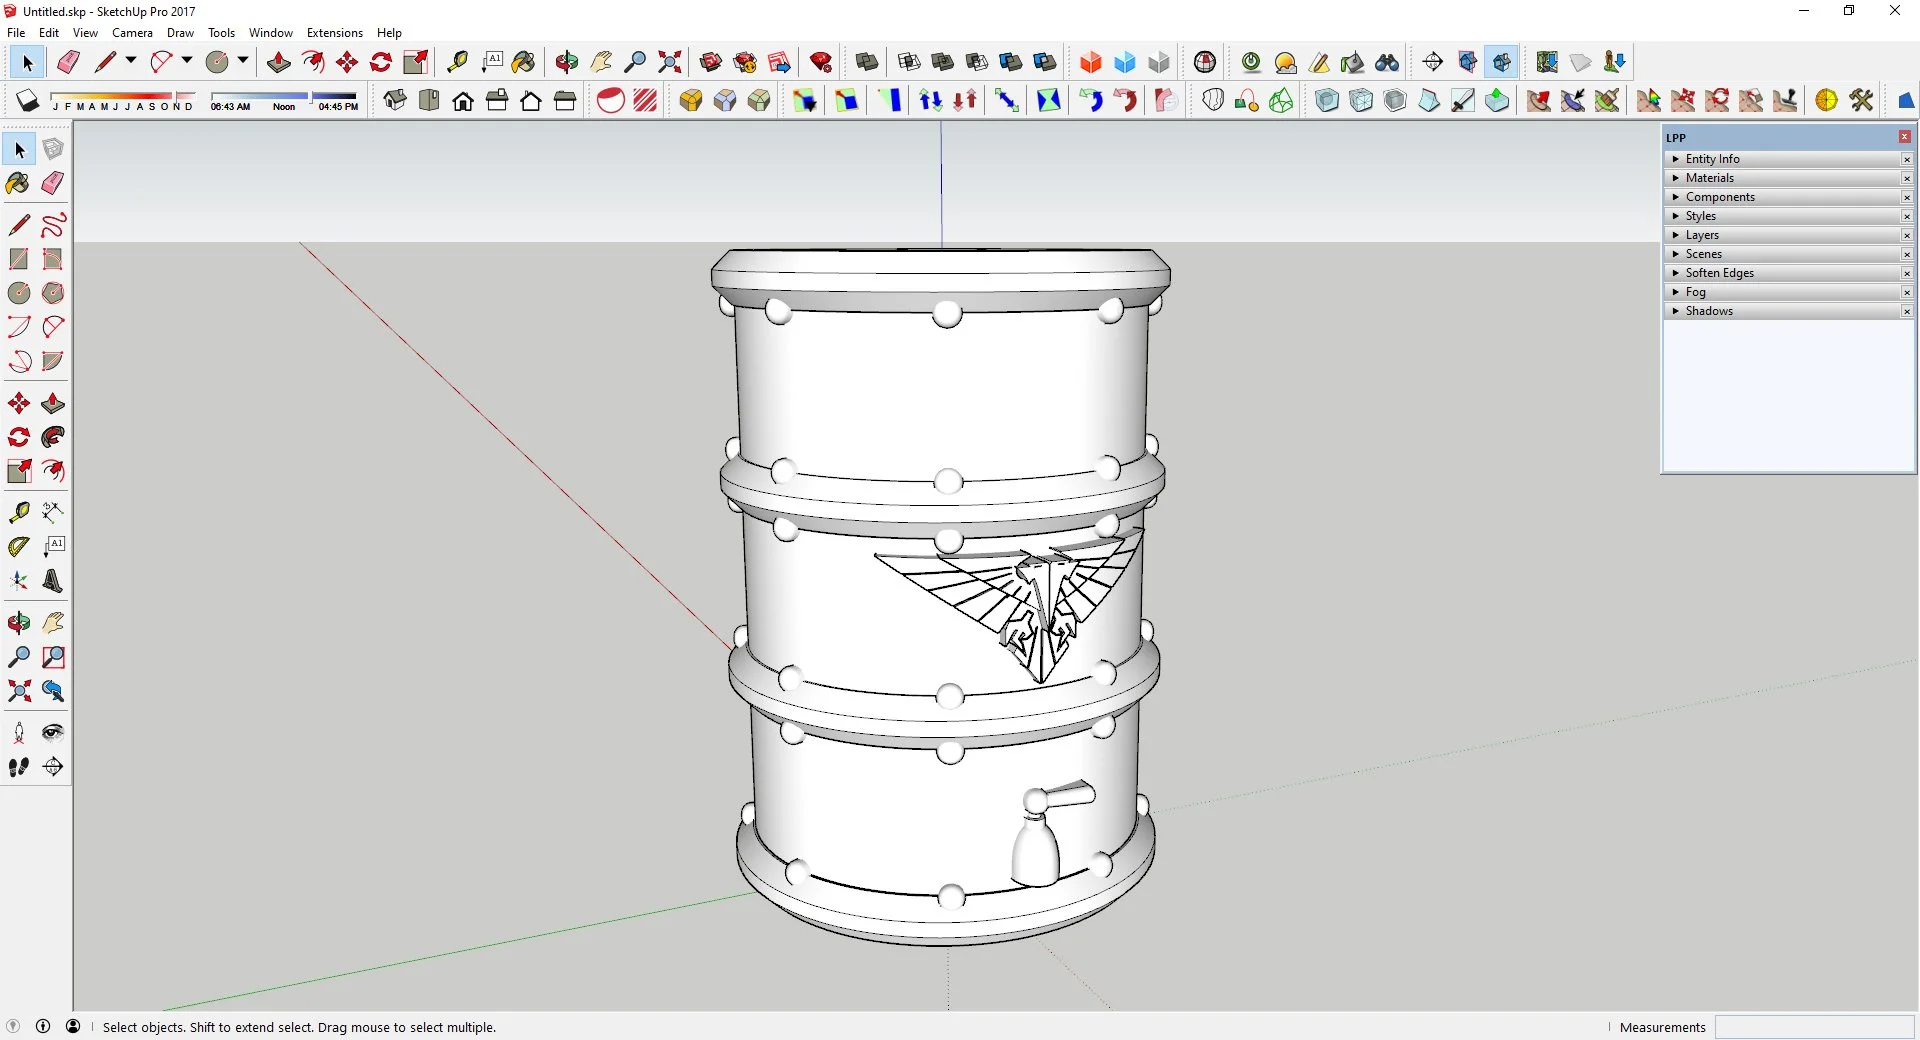
Now we have the basic form of the barrel, we can start adding some basic details, such as skulls, taps, rivets and a lid. (let me know if you’d like to see these steps in more detail).
Once the desired details have been added, we can look to check the print-ability, scale correctly and export.
Use ‘Solid Inspector’ from the Tool menu to check each group and component. This ensures the exported .STL will be printable.

Scale the model down by 0.001

Select the desired model and use the ‘STL Import & Export’ plugin from the File menu to export the .STL

The exported .STL can now imported into your slicer of choice.